Wednesday, December 26, 2012

The Making of Christmas!

We had so much fun making a lot of our Christmas gifts this year!  Hopefully everyone else will enjoy them as much as we enjoyed making them. We were very blessed to spend lots of time with both my side of the family and Mitch's side.  I hope that everyone had a blessed Christmas and that your next year will be filled with joy!  Here are some pictures of the things we created.

Homemade Beer Bread and Beer
This was our first attempt at making our own labels and attaching them.  Mitch created and printed the labels on brown parchment paper.  We tried lightly coating the back with milk and sticking them onto the jars/bottles.  We had read several different blogs online about how this works great.  It did not work for us, the labels fell off by the next day.  Since I was running out of time we ended up just using rubber cement and it appears to have worked.  


Holiday Home Brew
Several months ago Mitch set out to make a Holiday Ale for the beer lovers in our family.  To make these extra special Mitch hand dipped them in green and red wax.  He had hoped to make six pack carriers but ran out of time.  Maybe next year!  


For our sewing friends and family- 
A homemade pin cushion and container.  I of course found this idea on Pinterest and just had to try it.  Since we have several family members on both sides that enjoy sewing I thought it would be perfect. The most difficult part was finding the Ball Jelly Jars.  Once I found those it was a simple project.  I just cut my fabric of choice one inch larger around than the lid.  Hot glued the fabric to the lid leaving a small opening.  Then I filled the opening with stuffing and finished hot gluing it closed.  Screw on the top and you are finished!

For our Nieces:
The teacher in me couldn't resist this project!  Big time consuming projects made with lots of love!  

For Lucy- 13 months old
A complete set of 3 inch capital alphabet letters and a drawstring bag to hold them.  She probably wont play with them too much yet but hopefully she will get into them at some point.  Right now she is more into taking care of her baby!  
 

For Stella- 3 years old
Another set of 3 inch capital letters but for Stella I added magnets.  She has always loved playing with magnets so I thought it would be a good addition for her.  Adding magnets made this project much more challenging because the sewing machine is metal and every magnet wanted to stick to it.  I eventually found a way to sew in little pockets for each magnet and completed the set.  I of course did an extra L so she can spell her name.

Magnetic suitcase-
I forgot to take a close up of this part of Stella's gift but I did take a few pictures of her playing with it.  I found a small wooden suitcase at Hobby Lobby and painted the inside with several layers of magnetic paint.  I then painted pink (her favorite color) over the magnetic paint and outside of the suitcase.  I then used an iron to transfer her name onto the front of the suitcase.  

Stella appeared to LOVE the gift which made Aunt Whitney very happy!  :)  She immediately started playing with it and continued to play with it through out the rest of our time together.  


For our Nephew:

Jude- 8 months old
We decided to make magnetic fabric animals for Jude.  He absolutely adores his big sister (Stella) so we wanted him to be able to play with her.  The final present consisted of 8 animals, two trees, and a drawstring bag.
Mitch was a huge help with this!  He hand drew each animal so I would have something to trace.   He also helped me brainstorm the best way to create/sew each animals mane, tails, eyes, etc.
It is difficult to tell from the picture but each animal is the same on both sides.  The banana is magnetic and comes off of the monkey's hand.  The elephant's ear flaps back and forth.  I did a large zig zag stitch on the crocodiles back and small zig zag stitch for his teeth. 

The finished kid gifts!

For the Sister-in-laws:
I made three small keychain lanyards for Mitch's sisters.  Two of the girls had asked for them and picked out their own fabric so I just decided to make one for all three.  I remembered to take a picture after I had already wrapped two of them.  


The gifts are wrapped and ready for Christmas!


Whitney's Mystery Surprise Gift!  
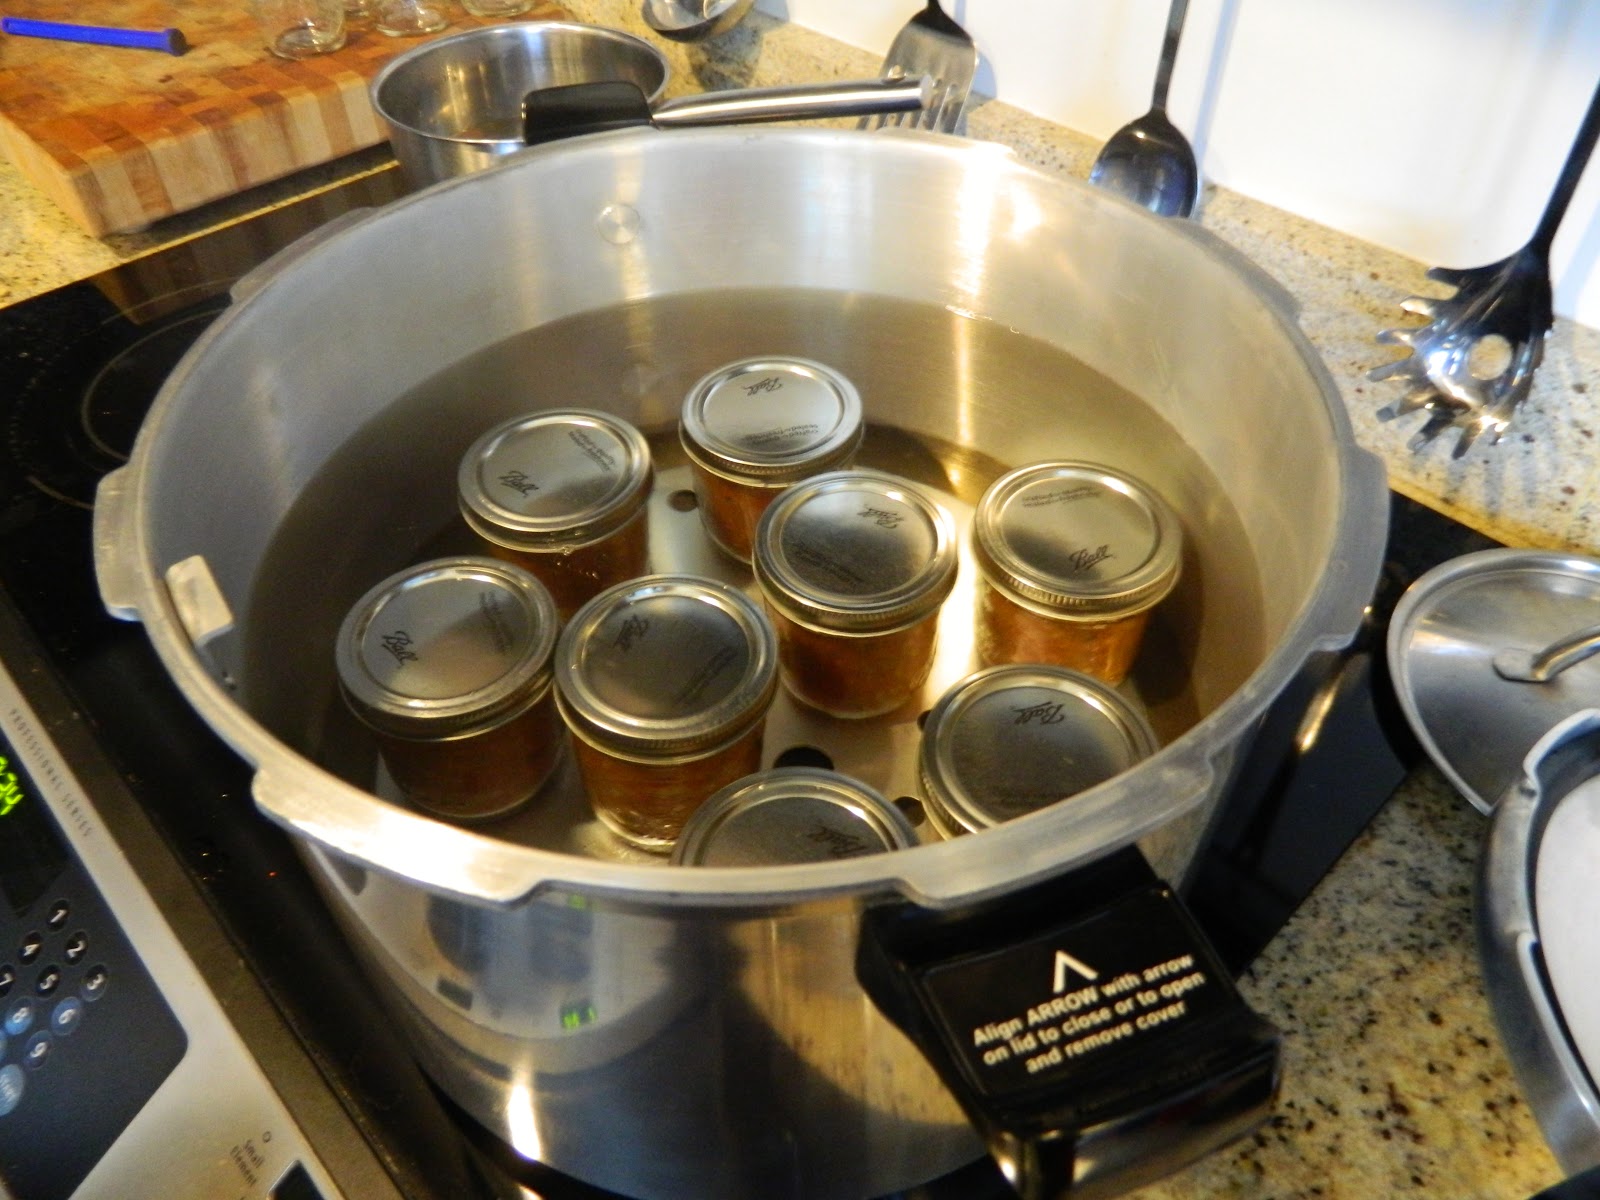
Mitch and I obviously love to spend time creating and making things but rarely make gifts for each other because it is difficult to hide projects from each other in our small loft home.  I knew Mitch was up to something because he kept disappearing into our spare room to work on an unknown project.  At one point he came out and grabbed an empty canning jar, boiled an egg, smashed the hard boiled egg in the jar, and then went back into the bedroom.  This really piqued my interest.  I was even google searching what you do with hard boiled eggs in a mason jar but had no luck figuring anything out.  Well when Mitch gave me this gift it all made sense.   He melted down one of his collector silver coins, formed the shape he wanted, and hand stamped our daughters initials onto the silver.  Setting the silver in the hard boiled egg for one hour caused the silver to have the weathered look it has below.  I must say he is AMAZING!


What a wonderful Christmas!  I am excited and ready to start making things for next year!  


Sunday, December 9, 2012

Dying the Couches

This summer we decided it was time to make a change to our couches.  We purchased them five years ago from Ikea and they were starting to show a little wear and tear.  We would like to get a few more years out of them though so we set out to patch them up and make them good as new.  


Here they are to start with!


Fortunately we bought Ikea because the couches completely come apart making this job a little easier.  


Prior to adding the dye to the couch covers I patched up a few little holes in the corners that had started to get worn.  


Our goal was a dark gray color.  After researching online we found what we hoped would be the correct portions of dye to get the right shade of gray. 


It took several loads of dying to get all the covers through and the correct amount of dye on them.  


Putting the couches back together one piece at a time...

The finished product!  They turned out a little more blue than I had hoped for but overall we are happy with them and should get several more years out of them.

The new couch color did not seem to bother Isaac at all!  


Sunday, November 25, 2012

Summer Canning Adventures

We tried canning for the first time this summer.  Our first adventure was making salsa.  One beautiful, warm, summer morning (I know these are already getting hard to remember) we went to the local farmer's market and purchased all the veggies we would need for salsa making.  

Green peppers, onion, cilantro, tomatoes, banana peppers, jalapeƱos.


First we had to blanch the tomatoes.  Take the skin off the tomatoes by shortly boiling and then putting it directly into ice cold water.  


Lots and lots of dicing!

We boiled all the chopped ingredients down to the consistency we wanted.  

Then into the hot water canning bath they go!


Our finished salsa!  We enjoyed it so much we ended up making another batch just a couple weeks later.  


We also canned peaches.  We purchased these at our local farmer's market as well.  


The peaches also needed to be blanched and cut prior to being canned.  


We have now created quite a stock pile of canned items.  We have canned salsa, peaches, pears, asparagus, carrots, black beans, and green beans.

Tuesday, September 18, 2012

Coasters

Coasters


Making coasters is a simple process but it takes several days.  You will see that I forgot to take a few pictures along the way because some nights I forgot I was going to blog about it!  

Here are most of the materials you will need in order to make your own set of coasters:
Mod podge
Tumbled Marble tiles
Scrapbook paper with patterns of your choosing
Felt pads
Clear coat spray (not shown)
Paint brush
Sandpaper


Trace the shape of the tiles onto the back of the scrapbook paper and cut them out.  


Using the paint brush, paint one coat of Mod Podge onto the back of the tiles.  (I found that the back of the tiles have less flaws and are easier to work with than the front.)  Let the Mod Podge dry for at least an hour and repeat two more times.  You should have a total of three dry layers of Mod Podge before proceeding to the next step.


Paint a layer of Mod Podge onto the side of each scrapbook pattern you want displayed on the final coaster.


After painting each pattern place it face down onto the Mod Podged side of the tile.  Use a credit card to smooth the paper onto the tile.  


Bake/cure all tiles at 170 degrees F for 20 minutes.  Let cool.

Once the tiles have cooled I use sand paper to sand the edges of the scrapbook paper even with the tile so it creates a smooth transition   

Put a little bit of water over the coaster.  
Start rubbing the top layer off of the tile.  
Keep rubbing... 

And rubbing... you might start to loose the feeling in your thumbs.  :)

Once you get down to the design you wanted you can rub as little or as much as you want to give it a worn look.  It is possible to rub so much that you completely rub all design off so be careful.  


Here is were I forgot to take some pictures...
Let the tiles dry overnight.  I spray four layers of the clear coat spray over the tiles.  I usually let it dry at least one hour before applying the next coat.  

Once the clear coats have dried you can add the felt bottoms.  
Your coasters are complete!  


Good luck making your own coasters.  If after reading this you aren't interested in making your own but would like some unique coasters feel free to check out my Etsy website where each set is only $10.
http://www.etsy.com/shop/DowntownLilly
Thanks for reading!